

Visma eAccounting
Learn how to connect BillPipe with Visma eAccounting to synchronize your customers and invoices.
Visma eAccounting Integration
BillPipe integrates perfectly with Visma eAccounting, giving you automated synchronization of your customers and sales invoices.
1. How to connect BillPipe and Visma eAccounting
To begin syncing, you'll need to authorize BillPipe with your Visma account:
- Go to your BillPipe Dashboard and navigate to the Integrations section.
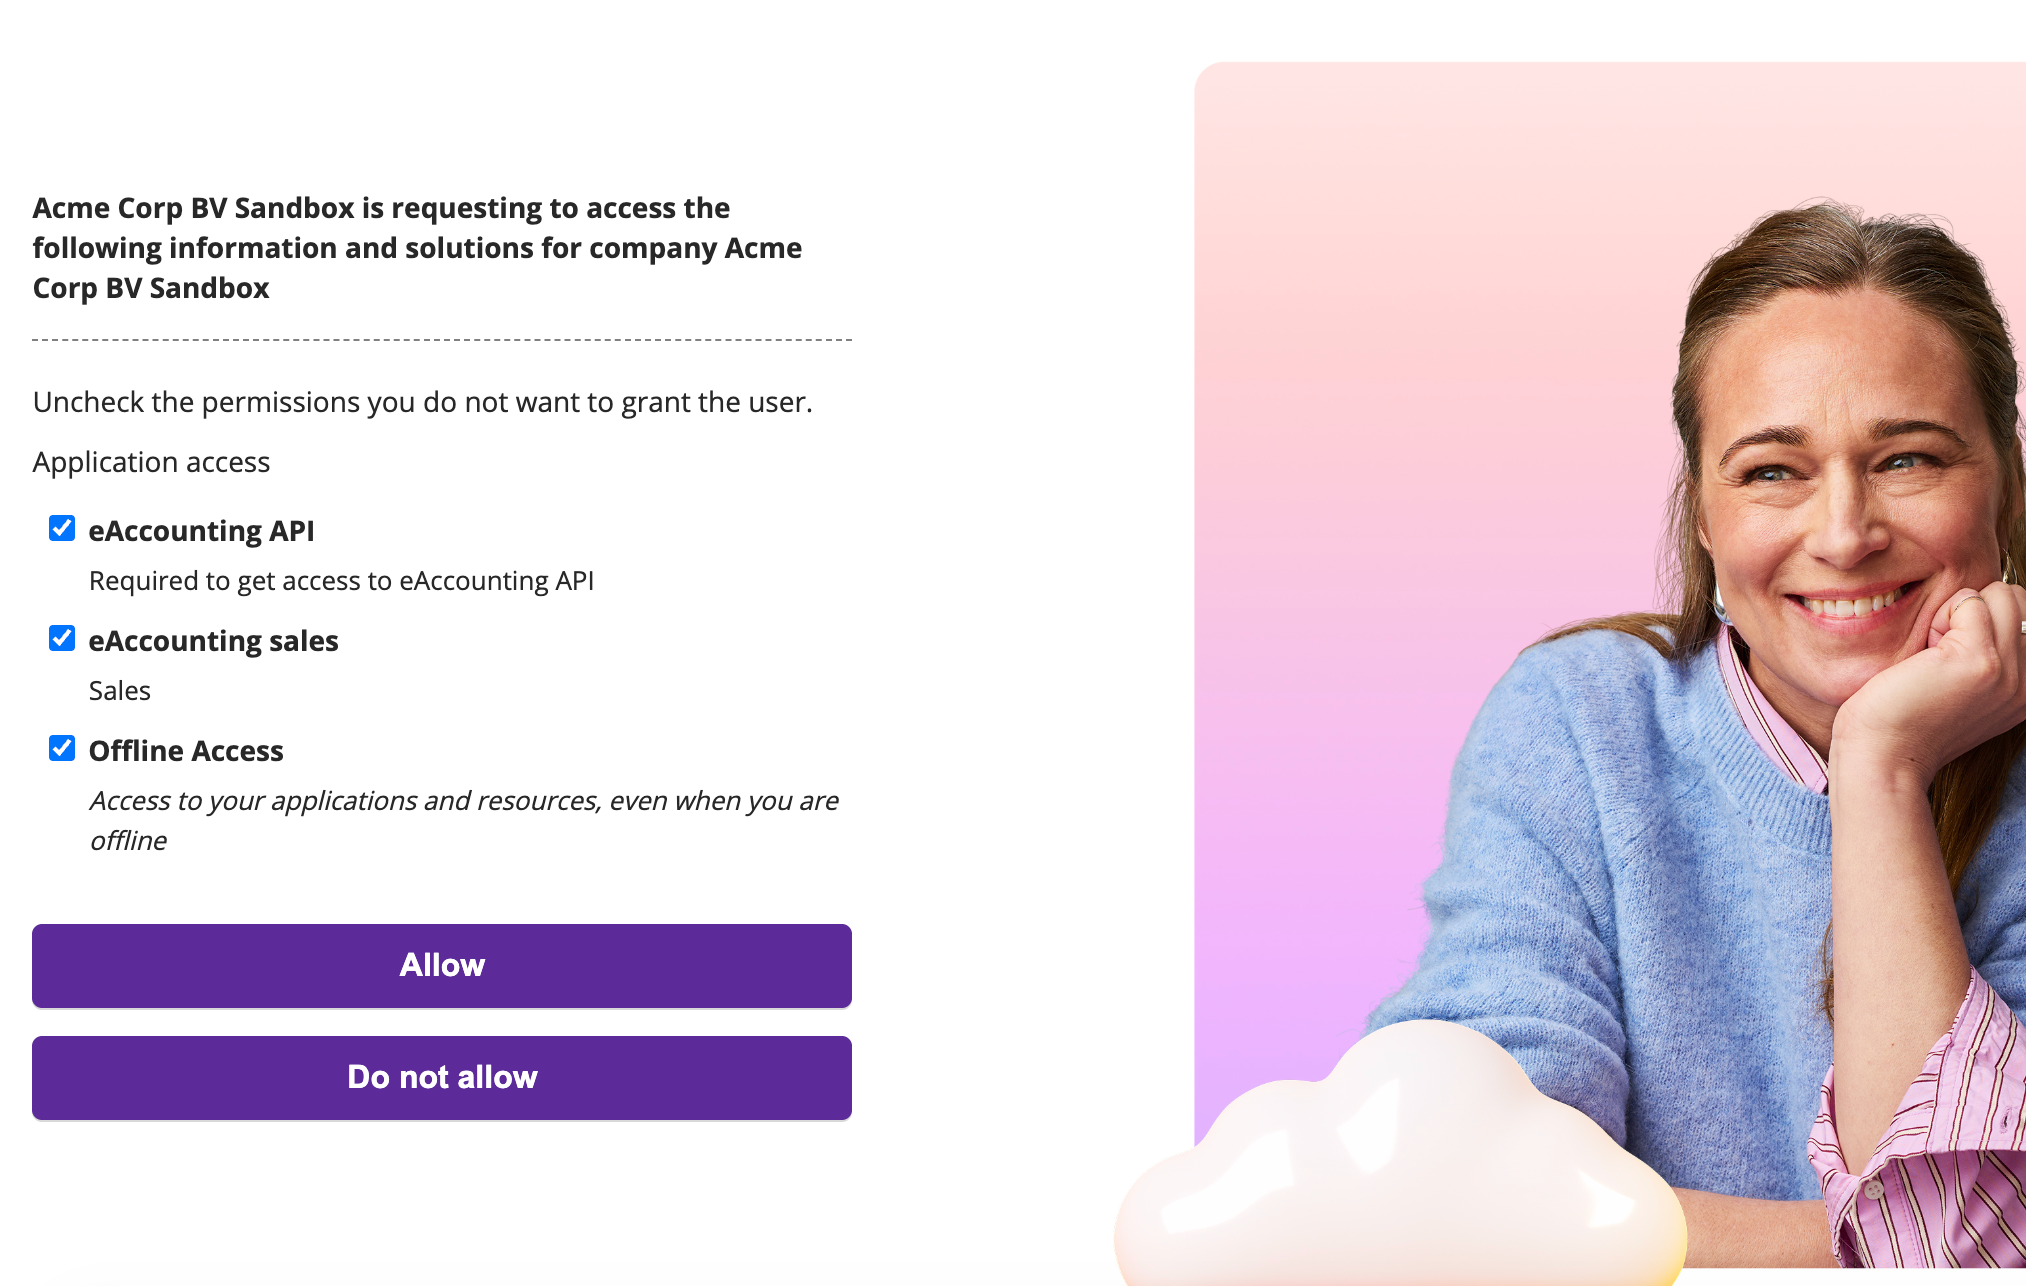
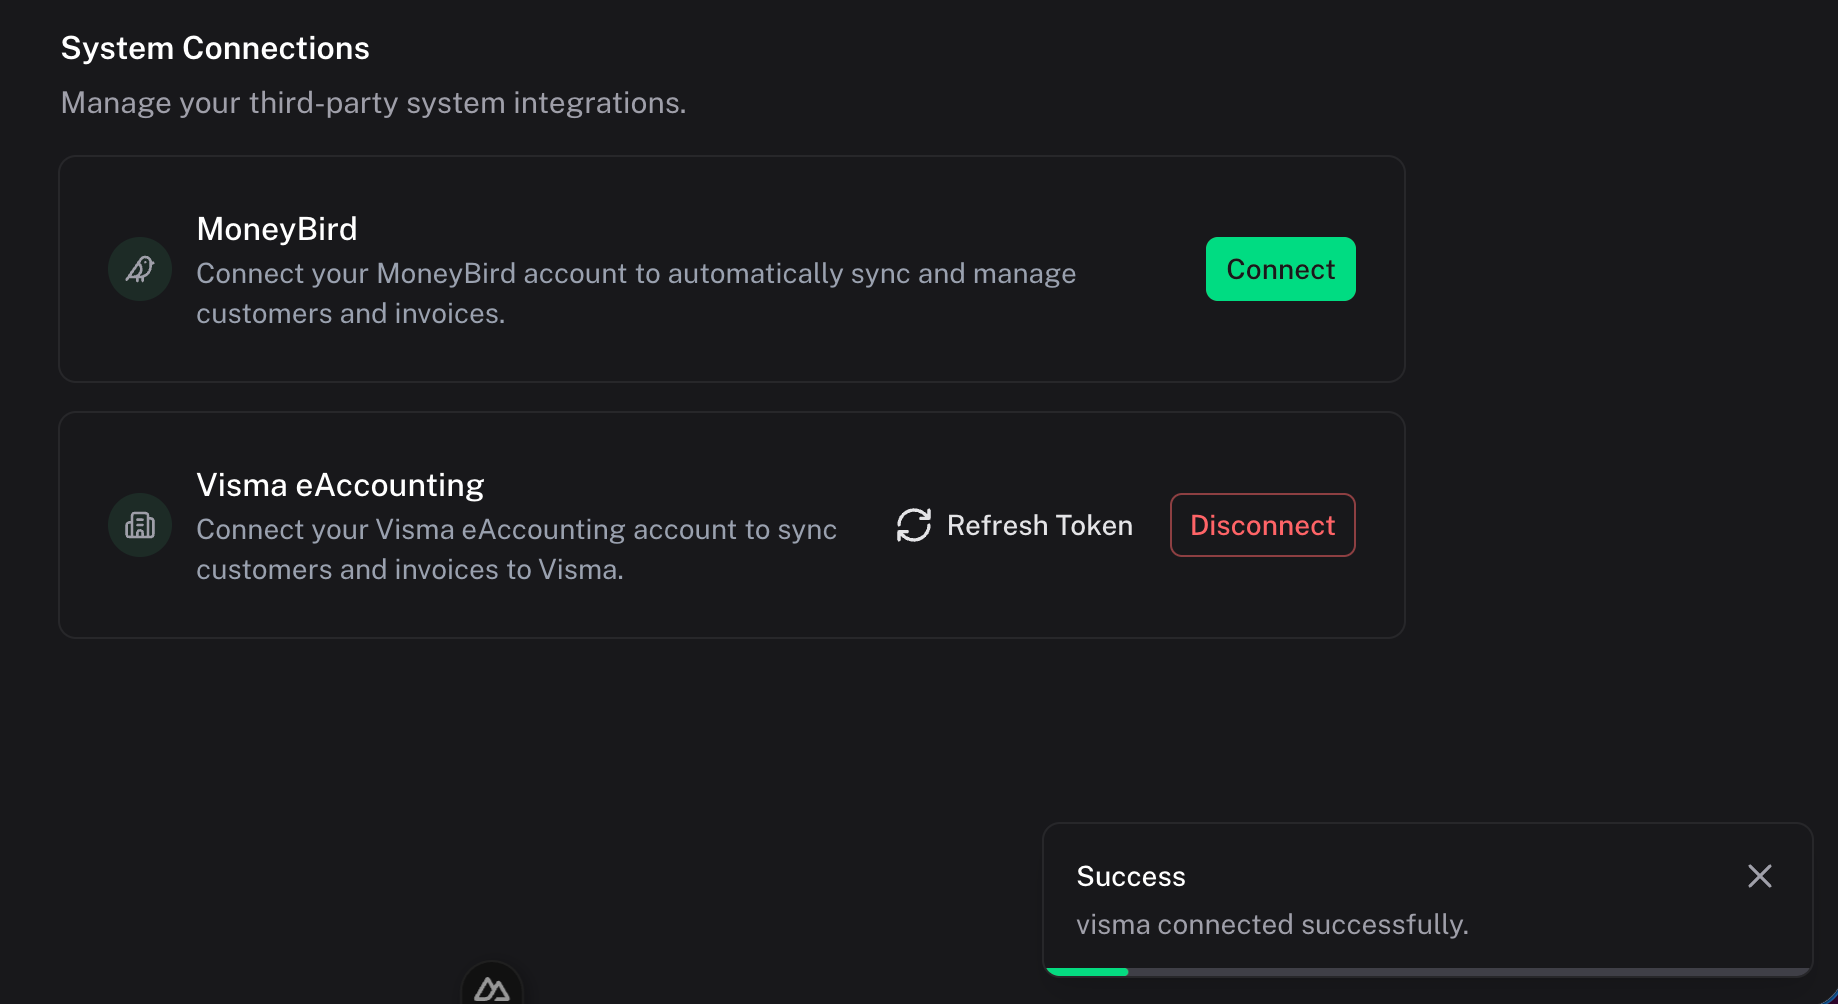
- Find Visma eAccounting and click Connect.
- You will be sent over to Visma. Log in and grant BillPipe access.
- After authorization, you're returned to BillPipe, and your workspace is fully connected.
2. How to import customers
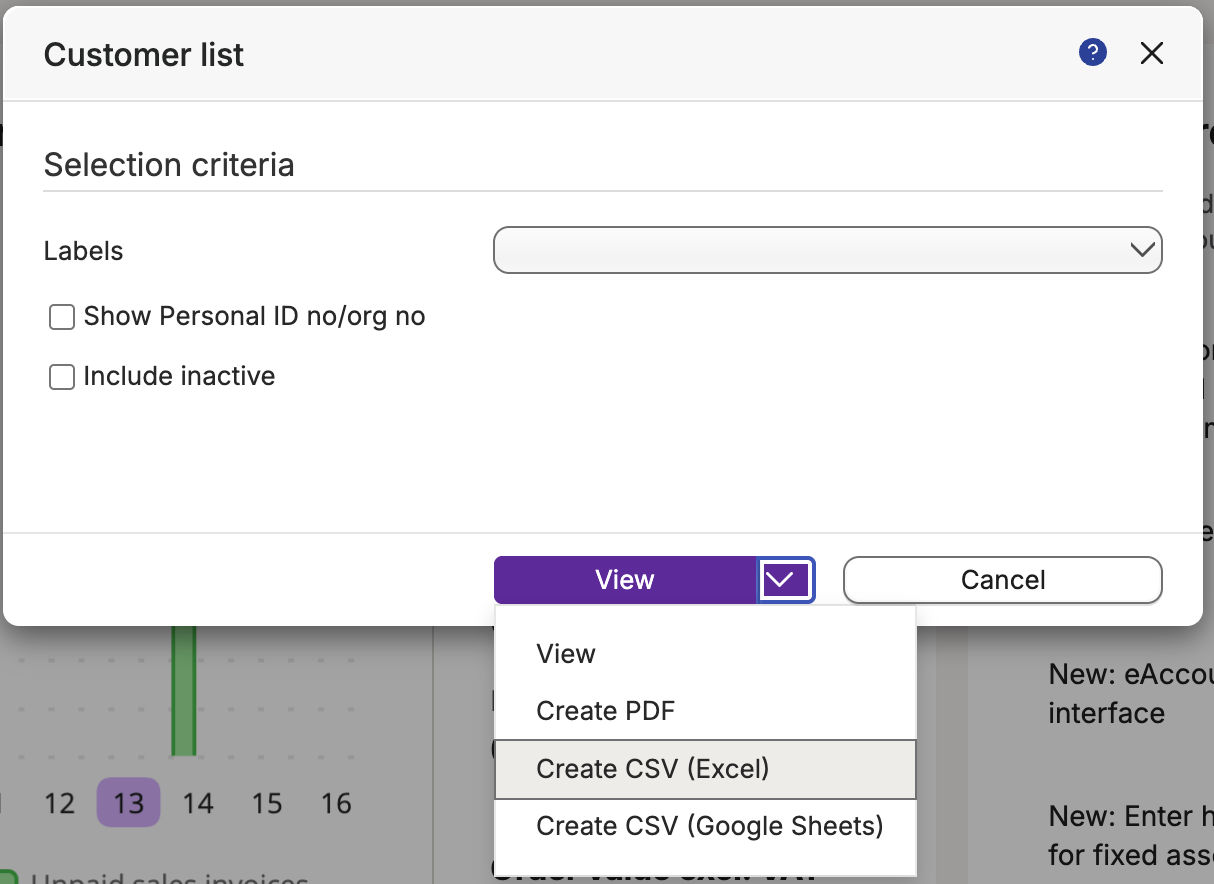
Bring over your current contacts from Visma using the integrated import logic:
- Inside your dashboard, navigate to the Customers area.
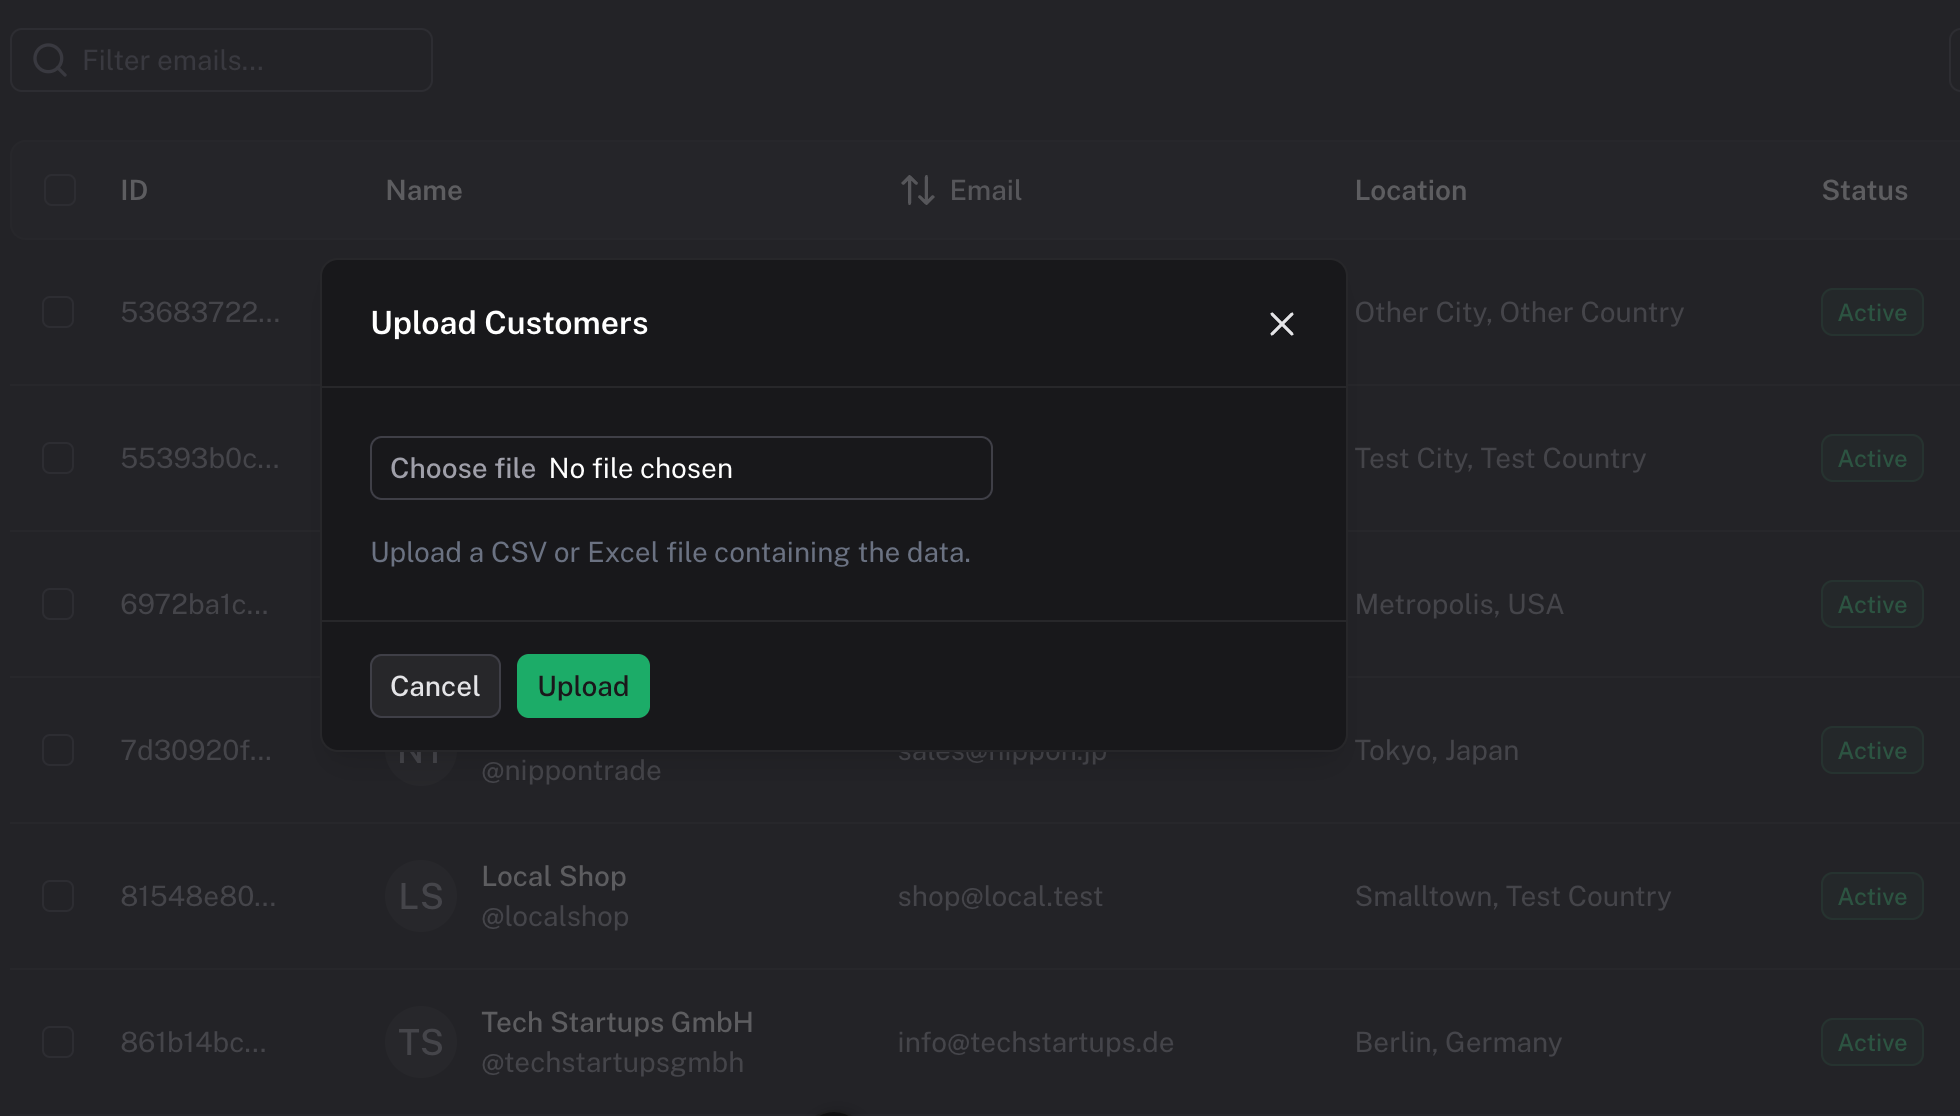
- Click on the Import button in the upper right.
- Select Visma eAccounting to load your contact sync flow.
- Review the differences and instantly create the matching customer records inside BillPipe!
3. How to create customers
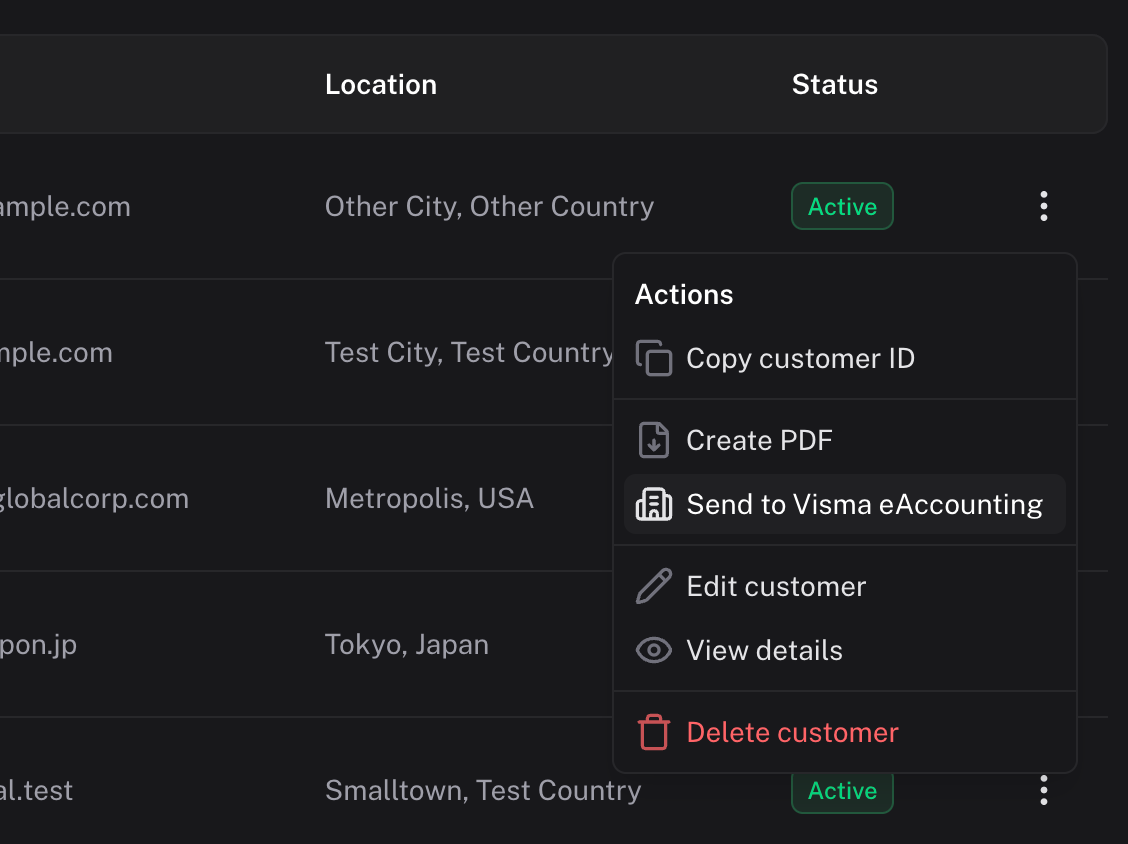
It's just as simple to push customers from BillPipe into Visma eAccounting:
- In the Customers page, check the contacts you want to export.
- Find the Send to... menu and click Send to Visma eAccounting.
- BillPipe connects to Visma to add these details (Name, Address, VAT, etc.) into your accounting records right away.
4. How to create invoices
Let BillPipe handle passing data onto your Visma invoice ledger automatically:
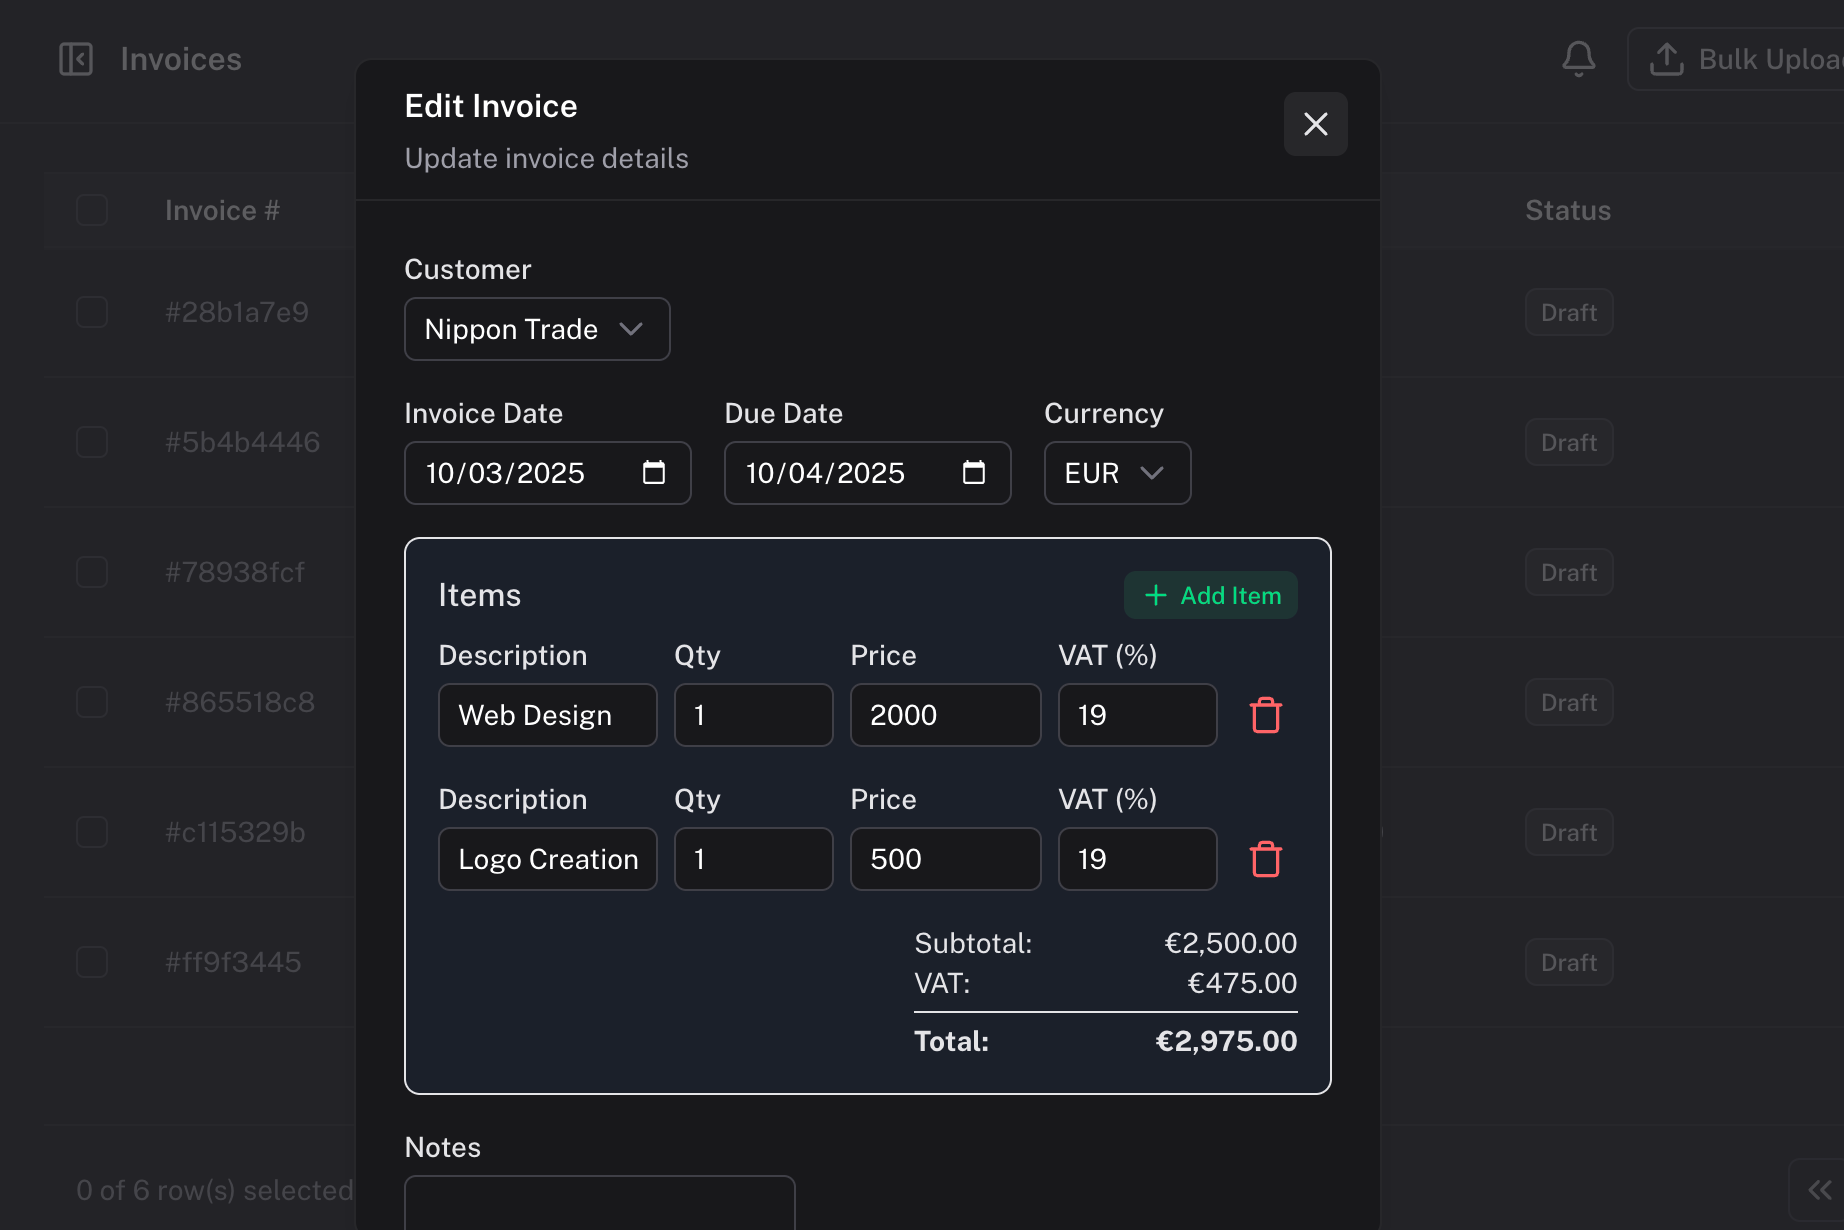
- Make sure your invoice is set up in your BillPipe Invoices stream.
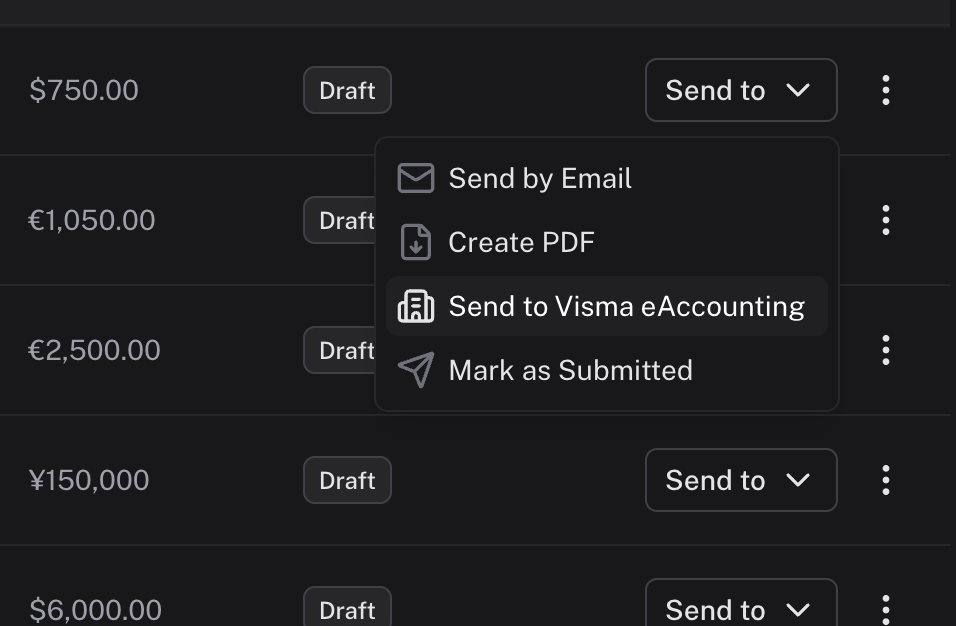
- Open or check an invoice to synchronize.
- Use the contextual menu to Send to Visma eAccounting.
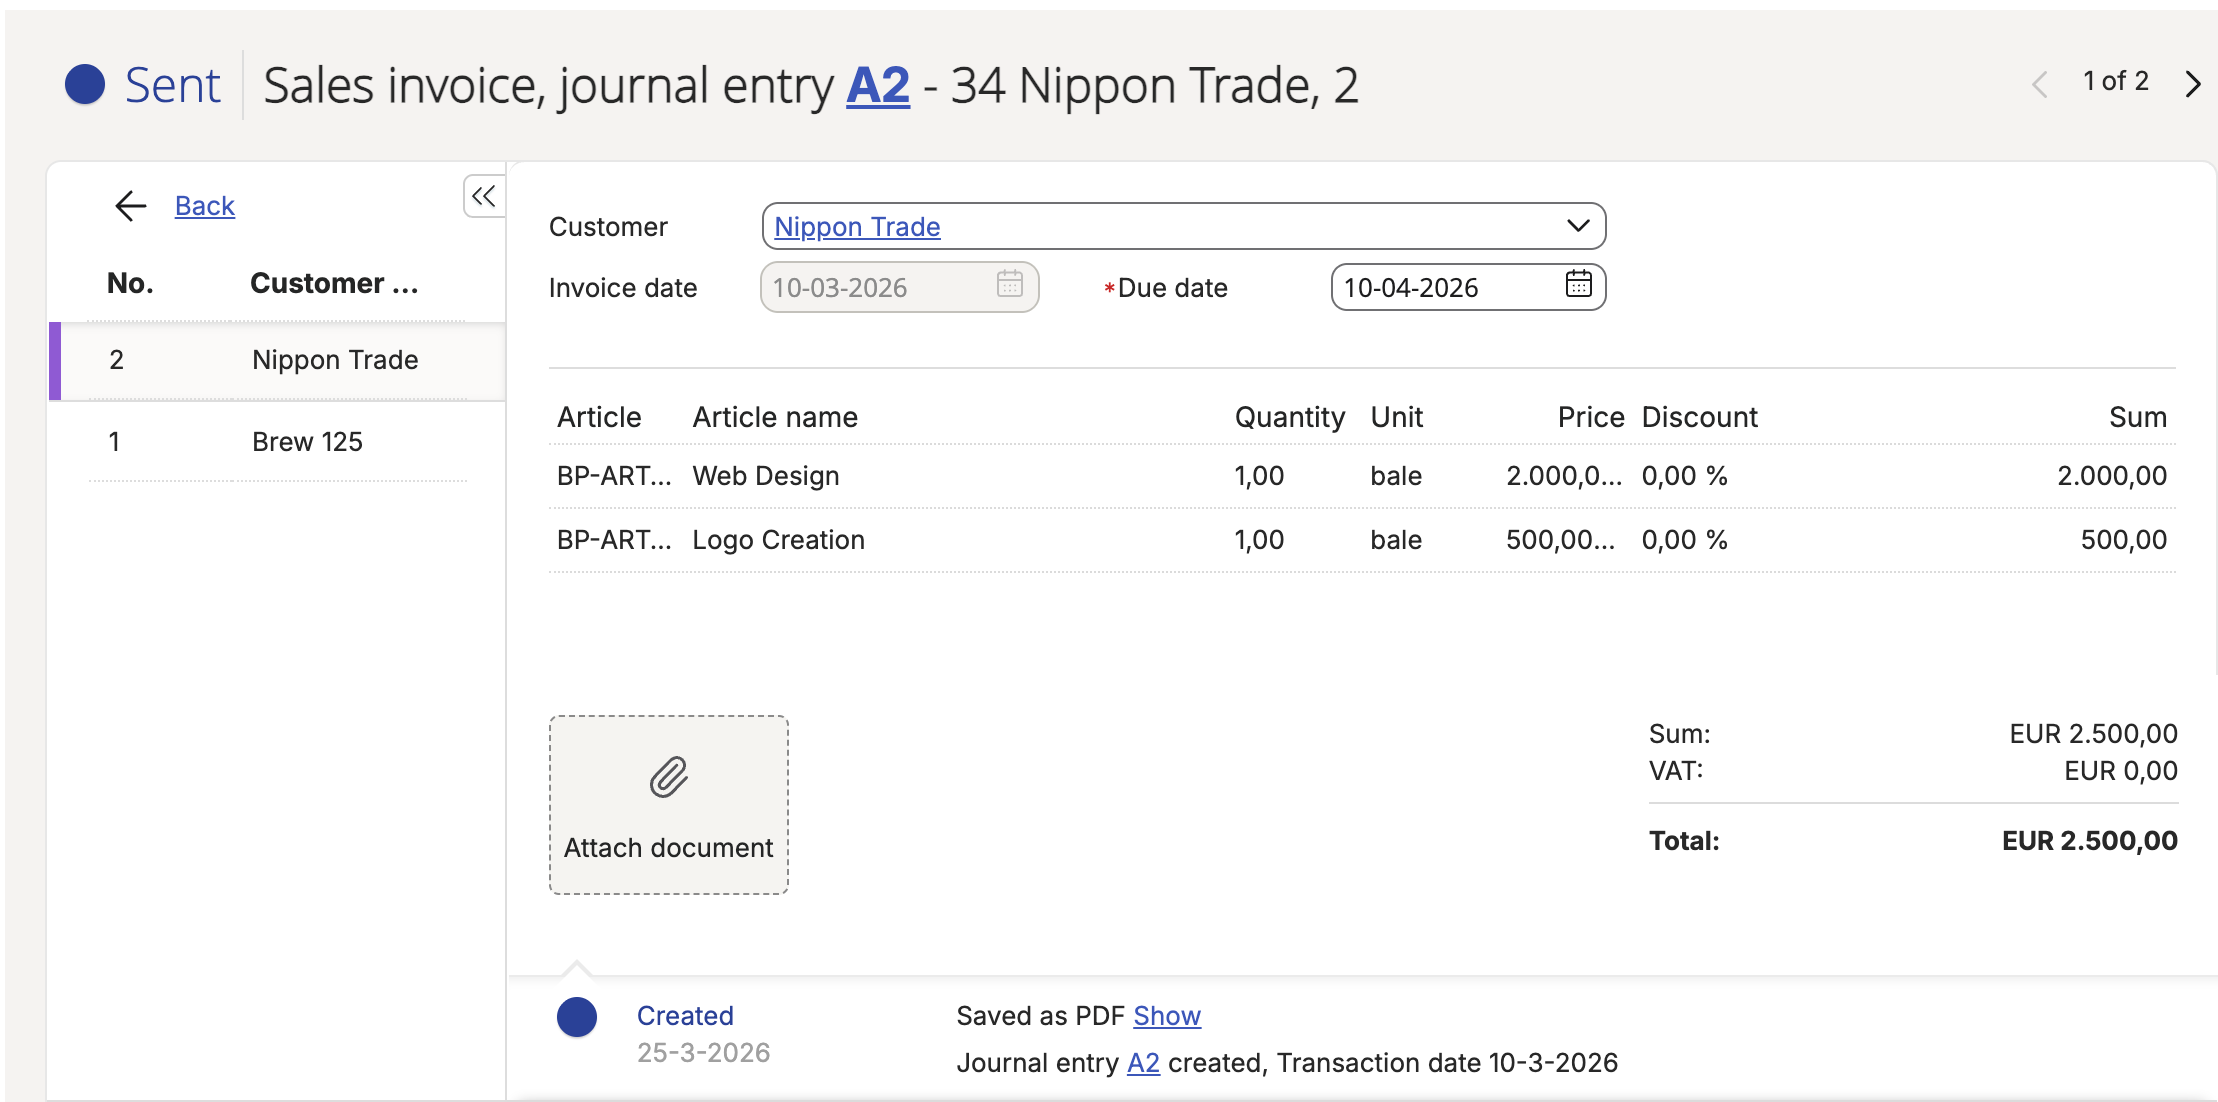
- We verify the line item amounts and push them right to Visma as draft invoices.
5. Specifics to Visma eAccounting
!TIP Ensure that your default ledger accounts and VAT codes are aligned between BillPipe and your Visma settings for seamless entry.